How To Get Rid Of Controller Drift?
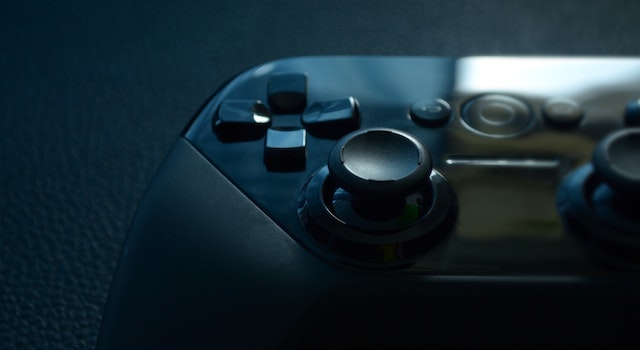
Here are some ways to get rid of controller drift:
- Clean the analog sticks: This is the most common fix for controller drift. Use a cotton swab and some isopropyl alcohol to clean around the base of the analog sticks. You can also use compressed air to blow out any dust or debris.
- Reset the controller: This can sometimes fix controller drift if it is caused by a software issue. To reset your controller, hold down the reset button on the back of the controller for 10 seconds.
- Replace the analog sticks: If cleaning and resetting the controller do not work, you may need to replace the analog sticks. This is a more difficult repair, but it is the only way to fix controller drift if it is caused by damage to the analog sticks.
How Do I Fix My Controller Drift On The Oculus Quest 2?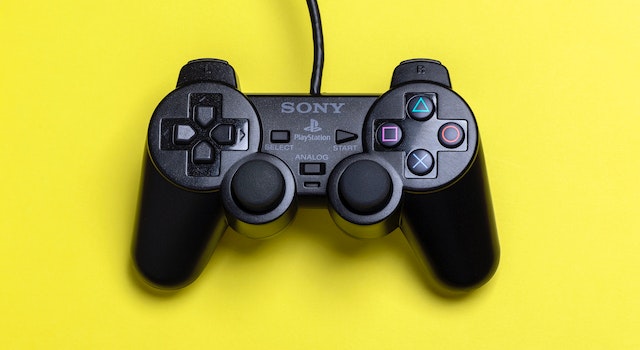
Before we delve into the solutions, it’s crucial to understand what controller drift is and why it happens. Controller drift occurs when your Oculus Quest 2 controllers register movement even when you’re not touching them. This unintended movement can lead to significant disruptions in your virtual reality experiences and affect your overall immersion.
The primary reason for controller drift can be attributed to the wear and tear that naturally occurs over time. Dust, debris, or even slight damage to the internal components can disrupt the sensors’ accuracy, causing them to misinterpret data. Additionally, environmental factors, such as lighting conditions and reflective surfaces, can contribute to this issue.
Troubleshooting Controller Drift
Let’s get to the heart of the matter: resolving the controller drift problem on your Oculus Quest 2. Here are some troubleshooting steps you can follow:
Restart Your Oculus Quest 2
Sometimes, controller drift can be a result of temporary glitches or software issues. Begin by restarting your headset to see if it resolves the problem.
Check for Firmware Updates
Keeping your Oculus Quest 2 and its controllers up-to-date is vital. Go to the Oculus app on your connected device and check for any pending firmware updates for both the headset and controllers. Installing the latest updates can often fix bugs that cause drift.
Clean the Controllers
As mentioned earlier, debris and dust can interfere with the sensors, leading to drift problems. Gently clean the controllers using a microfiber cloth or a soft, dry brush. Avoid using harsh cleaning agents, as they may damage the controllers.
Adjust Lighting Conditions
Unfavorable lighting conditions can impact controller tracking. Ensure that the room where you play has adequate lighting that isn’t too bright or too dark. Avoid direct sunlight or bright lamps near the tracking area.
Check for Reflective Surfaces
Reflective surfaces can confuse the sensors on the controllers. If you have mirrors or glass surfaces in your VR play area, consider covering them temporarily while using the Oculus Quest 2.
Recalibrate Your Guardian System
Your Oculus Quest 2 uses a Guardian system to map your play area. Recalibrating the Guardian system can sometimes help resolve drift issues. Redraw your play area and ensure that there are no obstructions.
Replace Batteries
In some cases, low battery power can lead to controller drift. Swap out the batteries with fresh ones and see if it improves the tracking accuracy.
Reset Your Oculus Quest 2
If all else fails, you can try resetting your Oculus Quest 2 to its factory settings. Keep in mind that this will erase all your data and settings, so make sure to back up your important data before proceeding.
Advanced Fixes for Persistent Drift
If you’ve tried all the troubleshooting steps above and are still experiencing controller drift, don’t lose hope! There are some advanced fixes you can attempt:
Contact Oculus Support
If your Oculus Quest 2 is still under warranty, it’s best to reach out to Oculus Support for assistance. They can guide you through additional steps or arrange for a repair or replacement if necessary.
Controller Replacement
If the drift issue persists and your controllers are out of warranty, you might need to consider purchasing new controllers. Oculus’ official website or authorized retailers offer replacement options.
DIY Repair
For tech-savvy individuals, there are online tutorials and guides available for DIY controller repairs. However, attempting to fix the controllers yourself might void any existing warranty, so proceed with caution.
How Do I Fix My Controller Stick Drift?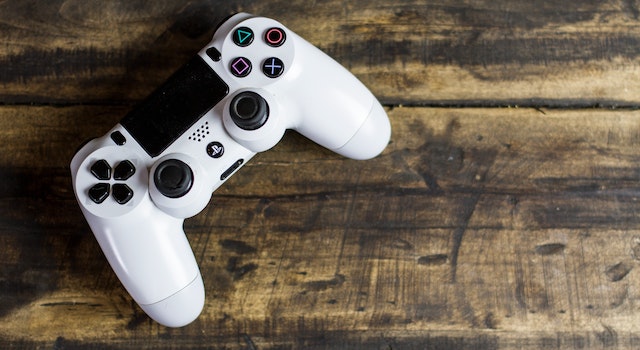
Controller stick drift is a common issue experienced by gamers across various platforms. It refers to the unintended movement of the joystick or analog stick on your gaming controller, even when you’re not touching it. This problem can occur on both console and PC gaming controllers and can be attributed to a variety of factors.
What Causes Stick Drift?
Stick drift can stem from a multitude of reasons, and it’s crucial to identify the root cause before attempting to fix it. Here are some common causes of stick drift:
- Dust and Debris: Dust particles and debris can accumulate over time around the analog stick’s sensors, leading to erratic behavior.
- Wear and Tear: Continuous usage of the controller can cause the internal components, such as potentiometers or contacts, to wear out.
- Manufacturing Defects: In some cases, controllers may leave the factory with minor flaws that eventually lead to stick drift.
- Moisture and Liquids: Spills or exposure to moisture can interfere with the internal electronics of the controller, resulting in malfunction.
Troubleshooting and Fixes
Now that we have a better understanding of the possible causes, let’s explore the troubleshooting steps and solutions to fix controller stick drift.
Calibration
Before delving into more complex solutions, start by calibrating your controller. Many gaming platforms offer built-in calibration options that can help recalibrate the analog sticks and potentially resolve the issue.
Cleaning the Controller
If dust and debris are suspected culprits, cleaning the controller can work wonders. To do this, follow these steps:
- Step 1: Gently remove the batteries or disconnect the controller from your console or PC.
- Step 2: Use compressed air to blow away any dust or debris around the analog sticks.
- Step 3: If necessary, dampen a cotton swab with isopropyl alcohol and carefully clean the area around the sticks.
- Step 4: Allow the controller to dry completely before reassembling it.
Controller Firmware Update
Manufacturers often release firmware updates to address known issues. Check the official website of your controller’s manufacturer for any available updates. Installing the latest firmware might resolve the stick drift problem.
DIY Repairs
For more adventurous gamers with technical skills, you can explore DIY repair options. This involves disassembling the controller and either replacing the analog stick module or repairing any internal components that may be causing the drift.
Please note that performing DIY repairs may void your controller’s warranty, so proceed with caution.
Professional Repair or Replacement
If the stick drift persists after attempting the above solutions, it might be time to seek professional help or consider replacing your controller. Many manufacturers offer repair services, and if your controller is still under warranty, you might be eligible for a free replacement.
Preventing Stick Drift in the Future
Prevention is always better than cure. After resolving the stick drift issue, take the following measures to prevent it from recurring:
- Store Properly: Keep your controller in a clean and dust-free environment when not in use.
- Avoid Moisture: Keep liquids away from your gaming setup to prevent potential damage to the controller’s internal components.
- Gentle Handling: Be gentle with your controller during intense gaming sessions, as aggressive usage can contribute to wear and tear.
How Do You Clean A Ps4 Controller Drift Stick?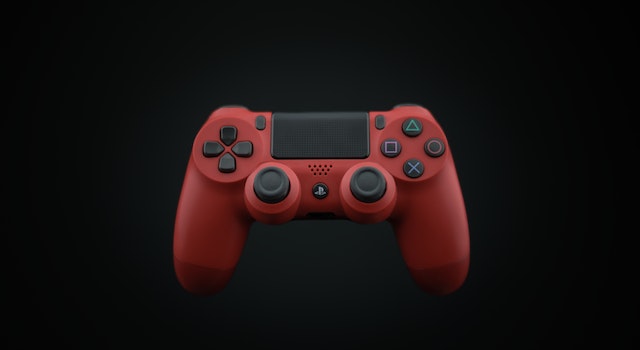
Before diving into the cleaning process, it’s essential to understand what PS4 controller drift is and what causes it. Controller drift occurs when the analog stick on your PS4 controller starts registering movement even when you’re not touching it. This unwanted movement can lead to frustrating gaming experiences and decreased performance.
The primary causes of PS4 controller drift are dust, debris, and grease that accumulate over time inside the controller. These particles interfere with the delicate sensors and mechanisms, resulting in inaccurate readings.
Preparing for Cleaning
To clean your PS4 controller’s drift stick effectively, you’ll need a few tools and materials:
- Isopropyl alcohol: This will serve as the cleaning agent, effectively dissolving grease and grime without damaging sensitive components.
- Cotton swabs: These are perfect for reaching tight spots and cleaning hard-to-reach areas.
- Lint-free microfiber cloth: This will be used to wipe down the controller without leaving behind any fibers.
- Screwdriver set: You’ll need a small Phillips-head screwdriver to disassemble the controller safely.
- Flat workspace: Find a clean and flat surface to work on to prevent losing any tiny screws during disassembly.
Step-by-Step Cleaning Guide
Step 1: Prepare Your Workspace
Start by turning off your PS4 console and disconnecting the controller. Place the controller on your flat workspace and ensure you have ample lighting to see the tiny components clearly.
Step 2: Remove the Backplate
Use the Phillips-head screwdriver to remove the screws on the backplate of the controller. Carefully lift off the backplate and set it aside. Take note of the screw placements to ensure proper reassembly later.
Step 3: Access the Analog Stick
With the backplate removed, you’ll see the circuit board and the analog sticks. Identify the drift stick you want to clean, which is usually the left one.
Step 4: Dampen the Cotton Swab
Dip one end of the cotton swab in isopropyl alcohol, ensuring it’s damp but not soaked. Too much liquid can seep into the controller and cause damage.
Step 5: Clean the Drift Stick
Gently rub the dampened cotton swab around the base of the analog stick. Rotate the stick to clean it thoroughly from all angles. Repeat this process with a new cotton swab until no dirt or grime remains.
Step 6: Wipe Down the Controller
Use a lint-free microfiber cloth to wipe down the entire controller, including the backplate. Ensure there’s no residue left from the cleaning process.
Step 7: Reassemble the Controller
Carefully place the backplate back onto the controller and tighten the screws in their original positions. Make sure not to overtighten, as it can damage the casing.
Additional Tips to Prevent PS4 Controller Drift
Regular Cleaning: Make it a habit to clean your PS4 controller every few months, especially if you use it frequently. Regular cleaning prevents the accumulation of dirt and extends the controller’s lifespan.
- Avoid Liquid Spills: Keep liquids away from your gaming area to prevent accidental spills that could damage your controller.
- Proper Storage: Store your controller in a clean and dry place when not in use to minimize the risk of dust and debris buildup.
- Use Controller Covers: Consider using silicone controller covers that protect the analog sticks from dust and grime.
FAQ’s
What is controller drift, and why does it occur?
Controller drift refers to the unintended movement or input on a gaming controller, even when the user is not actively touching or manipulating it. This issue often arises due to wear and tear, dust accumulation, or calibration problems within the controller’s hardware.
How can I prevent controller drift from happening?
To prevent controller drift, ensure that you store your gaming controller properly when not in use, away from dust and extreme temperatures. Additionally, avoid dropping or mishandling the controller, as this can exacerbate wear on the internal components.
How do I clean my gaming controller to reduce drift?
To clean your gaming controller, use a soft, dry cloth to wipe down the exterior and remove any dust or debris. For the thumbsticks and buttons, dampen a cotton swab with isopropyl alcohol and gently clean around these areas. Remember to let the controller dry completely before using it again.
My controller is still drifting after cleaning. What else can I do?
If cleaning the controller didn’t resolve the drift issue, try recalibrating it through the gaming console’s settings. This process may vary depending on your console brand, but generally, you can find the calibration option in the system settings or controller configuration menu.
Can software updates fix controller drift problems?
Yes, sometimes gaming console manufacturers release software updates that address controller performance issues, including drift. Ensure your console’s firmware is up to date by checking for the latest updates in the system settings or through the manufacturer’s website.
My controller is still under warranty, but I’m experiencing drift. What should I do?
If your controller is still within the warranty period and experiencing drift, contact the manufacturer’s customer support. They may offer a replacement or repair service for the faulty controller at no additional cost to you, provided the issue is covered under the warranty terms.
